BO Balm
Such a hippie. I know. But, if you hate spending cash for deodorant that is filled with synthetics, aluminum (or is “all natural” and does not work), and comes in disproportionate amounts of plastic packaging, read on!
I’ve been making and using this for a year and it’s incredible. It works better than regular deodorant, in my experience, even during extreme activity and stress, like an ambulance call. And it’s so easy to make.
I use a slight variation of Angry Chicken’s recipe. I have followed her recipe precisely and it’s fantastic but somewhat soft and needs to be applied with the fingertips. No biggie, but using a stick is faster and easier. My ratio alterations are noted below, and I use jojoba oil instead of Vitamin E oil because it’s what I have around.
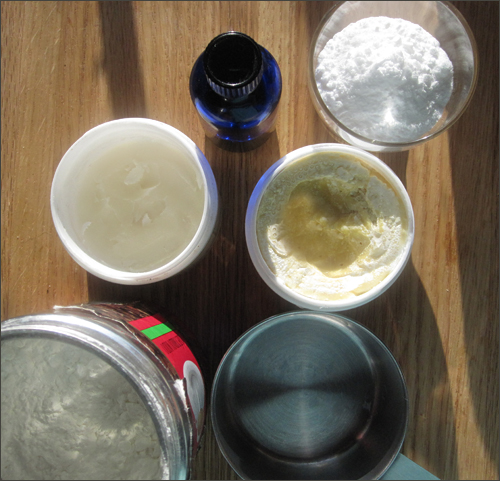
Shea butter in a stainless measuring cup, in which I make the entire concoction:

I hold it near the edge of my woodstove to melt the butters ~ you can use a burner on the stove as well, but I would hold it over the heat rather than setting it on the burner ~ you want to warm it, not cook it.
Adding cocoa butter:
For a firmer BO balm that works as a stick, I use 3 parts baking soda + cornstarch to 5 parts shea + cocoa butters rather than 5 to 5 as in the original recipe. I do keep the same ratios of shea butter to cocoa butter and baking soda to cornstarch as the original recipe. The cornstarch is important; the final mixture will be a bit grainy if you leave it out.
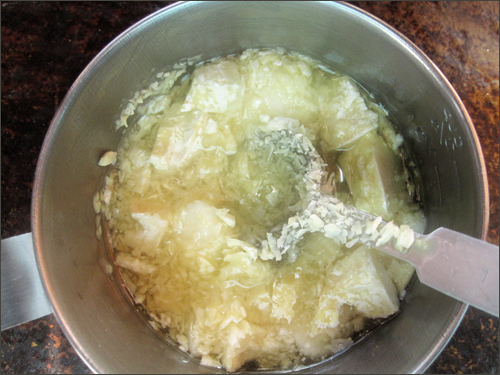
Baking soda + cornstarch:

Stirring the baking soda + cornstarch into the melted butters:
This is also where I add jojoba oil ~ I used about 1/2 teaspoon; I started with 2 ounces of shea butter and measured all other ingredients against that starting point ~ and essential oil for scent.
I have always used organic sweet orange essential oil and find it so lovely, especially combined with the slight chocolately scent of the cocoa butter. The smell is nice alone but doesn’t dominate or “get in the way” on days I wear fragrance.
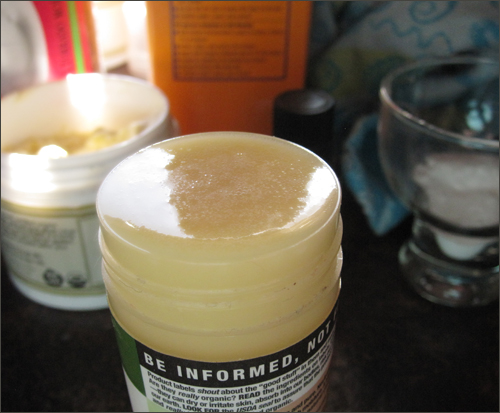
My mix goes into a deodorant stick thing I saved ~ this was an all natural brand that didn’t do its job whatsoever. I just rolled the original deodorant all the way up and threw it away, saving the container which I can reuse to infinity.
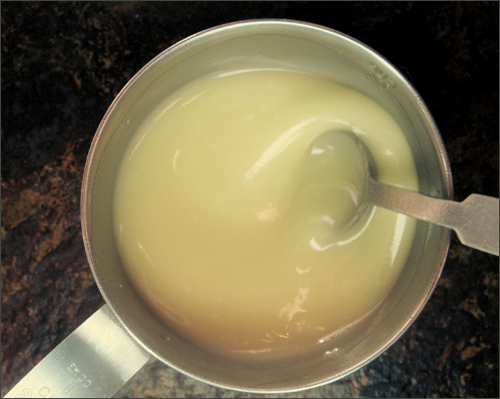
The melted mixture poured all the way to the brim! It cools and hardens in a matter of hours. It can be hard to roll up at first, but a quick run under hot water or a second near the woodstove softens the edges ever so slightly and it rolls up easily from there.
Simple! Cheap! And you smell nice all the time!
I get the ingredients from Mountain Rose Herbs.
Original recipe: Angry Chicken’s homemade deodorant.
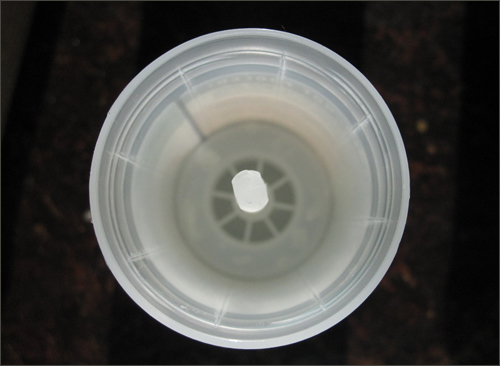
UPDATE: if reusing commercial deodorant tubes, do check for holes in the base before pouring your liquid mix in! If you’re looking for an appropriate tube to use, try HERE. I’ve not purchased from this site but it looks like the tube I used and there doesn’t appear to be a minimum order.
Gourmet Peasant Food
I made this the other night and fell in love with it all over again.
It is so easy and tastes so fancy.
Originally invented and posted on The Daily Coyote one Christmas long ago, it’s essentially macaroni and cheese (yes, mac & cheese for Xmas dinner, but keep reading, trust). Measurement guidelines are given at the bottom of the post.
Bring water in a pot to a boil and pour in pasta. I generally use elbows or little shells. For gluten-free pasta, I recommend Tinkyada ~ it’s all I use and gluten-eaters love it, too. Also toss in some dried porcini mushrooms. Boil until the pasta is al dente.
Drain pasta and mushrooms. Slice the mushrooms if they’re in big pieces and keep it all in the strainer for the time being. In the now-empty pot, melt a bit of butter, then toss in grated, sliced, or hacked-up bits of parmesan (real parmesan – that stuff in a can is not allowed!), then dump the noodles and mushrooms on top. Return to med/low heat and stir until the cheese is completely melted.
And now the pièce de résistance. Drizzle a few tiny drops (as in JUST A FEW TINY DROPS) of black truffle oil over the mixture. And a dash of sea salt. Stir once more, then taste. Then collapse on the floor in ecstasy.
Truffle oil is expensive and only a minuscule amount is required for enormous flavor. There’s no reason not to go in on a bottle with a few friends and split the cost, then divide the oil up in jam jars or something. Store this oil in a dark, cool place.
And for those who need a bit of guidance re/the recipe measurements, I’d say it’s 1 part pasta, 1/6 part dried porcini, and 1/4 part parmesan. And one or two teeny tiny droplets of truffle oil per serving. So good!
Eating Here

Campfire Quinoa
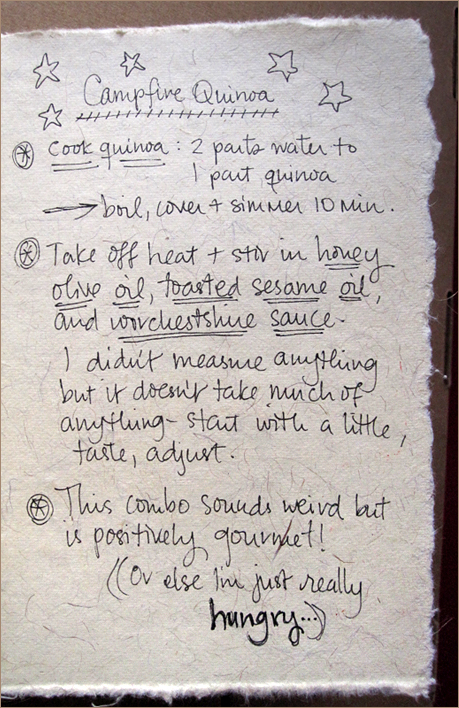
Great minds, and all that! OK, this is how I’m going to post for a while. If you need or prefer plain text, head over to Paper Route Designs – my sister will be transcribing the text on her site. Just click the “Honey Rock Dawn” tab on her navigation bar. (And give her a day or two after each post to have the text ready. And visit her Etsy Shop – her paper cuts are incredible!)
Truly Easy Homemade Cheese
Ten years ago, I read a profile in The New Yorker about a cheesemaking nun. I have always remembered the piece, the accompanying photograph (just found it online!), and the profound feeling it left me with: I was like, that’s what I want to be when I grow up.
I’ve now taken the first step down that path. I have made my first cheese.
(I don’t count my previous failures as cheese. They were failures.)
Cheese, on the one hand, is complicated and intimidating. On the other hand, it is simple and intuitive. I’m quite certain that milk wants to become cheese. Through my failures, I have realized the most important part about making good cheese is to take it slow. Respect the milk. DO NOT RUSH THE MILK. And the cheesemaking books never tell you this, at least not the ones I’ve read. And the cheesemaking websites act like you must shell out hundreds of dollars on specialty supplies if you wish to make cheese. Not so. A basic stainless steel pot will do the job just fine, or, in a pinch, a calf’s stomach ~ people have been making cheese for thousands of years, long before fancy accoutrements existed.
Last year, I tried to follow the rules and ended up with so many cheese failures that I had given up. But when I started milking Daisy again last week, and found that familiar surplus overtaking my fridge ~ multiple gallons of milk that we couldn’t possibly drink ~ I decided to try again. I needed something simple and gentle and intuitive to ease me back onto the cheese path. In a case of perfect timing, I was inspired by this post on a blog I enjoy. Since I only had fresh milk on hand, I altered her technique just slightly and the results are incredible.
OK! On to the cheese!
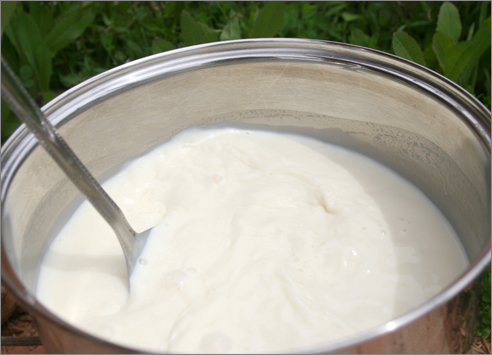
It starts with one gallon of milk.
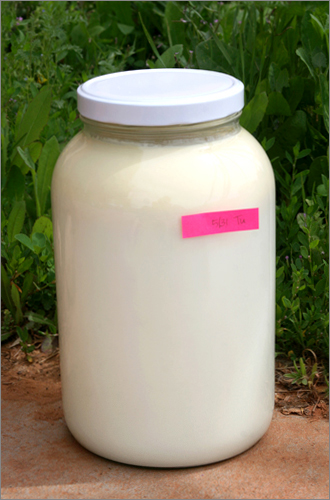
This is fresh milk from my cow. This particular gallon is the equivalent of whole milk; I placed the pink tab at the cream line in case it didn’t show up in the photo. If you’re using store-bought milk, I think using 2% and maybe even nonfat would be fine, though I’ve not tested it out. You certainly don’t have to start with a gallon. For my first batch I used half a gallon of milk but Mike and I loved the resulting cheese so much I went for a gallon this time.
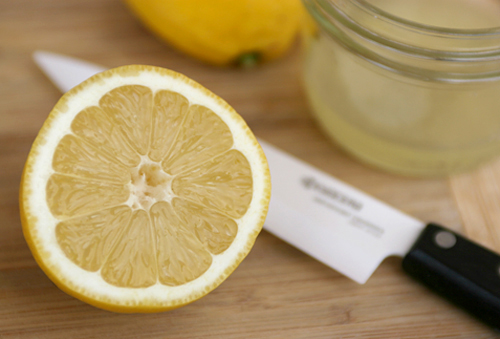
You will also need a pot and a spoon and a lemon and a thermometer.
That’s it.
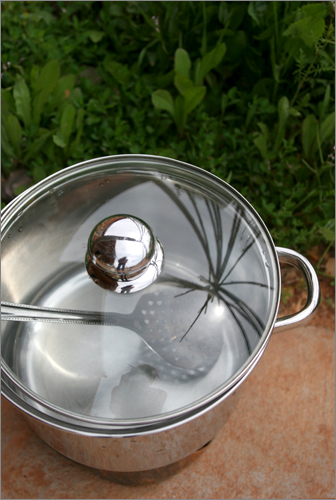
I plugged my hot plate into an extension cord and brought it outside because it was a beautiful day and I prefer being outdoors.
Pour the milk into the pot, cover, and set over low to medium-low heat. LOW TO MEDIUM LOW. Stir the milk every now and then; I found that just rocking the pot with the lid on did the job well. Heat the milk to 170-175 degrees Farenheit. This takes a long time at medium low heat; I timed this batch and it took close to an hour. However, do not rush this part. If you do, your cheese will be gummy and flavorless.
Once your milk reaches a temperature of 170-175 degrees, squeeze the juice of a lemon into a cup and slowly pour it into the milk while stirring. When I used a half gallon of milk, I used the juice of half a lemon (about 3 Tablespoons) and with a gallon of milk, I used a whole lemon.
Almost immediately after adding the lemon juice to the milk, it will separate into curds and whey.
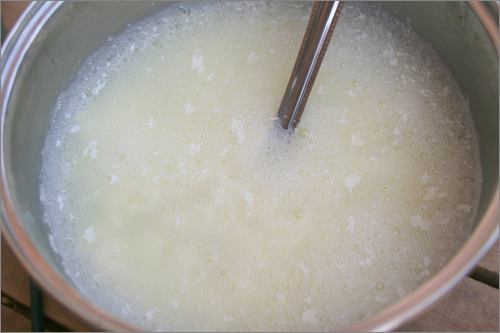
At this point, take the pot off the heat and let it sit for a few minutes just to give the curds time to separate from the whey.

Scoop the curds into a bowl; you could also pour through a tight strainer. I just spoon the curds into a bowl and then mash them with the slotted spoon to press out any remaining whey. At this point, you can add salt, herbs, garlic, whatever you fancy. Just mix it in to the curds and taste as you go.
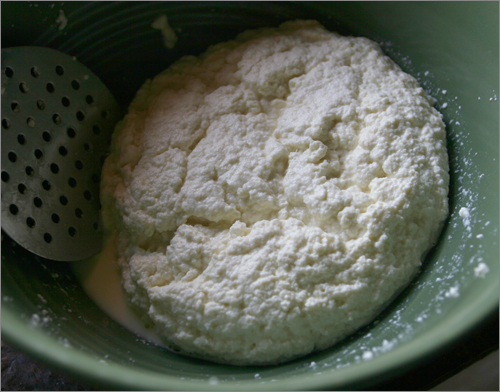
And this is cheese! You could put it in a square of cheese cloth (not the whispy kind; real cheese cloth has a tighter weave, like flour sack cotton) and hang it to drain all the whey for a harder cheese, but I just mash out whatever whey I can, then pack the soft cheese into pint jars. The miniscule amount of remaining whey does not adversely affect the cheese, and I noticed it fully integrates back into the curds and kept it soft and creamy.
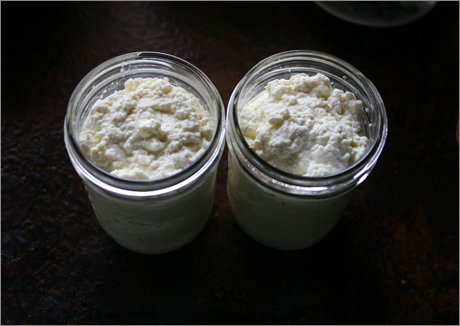
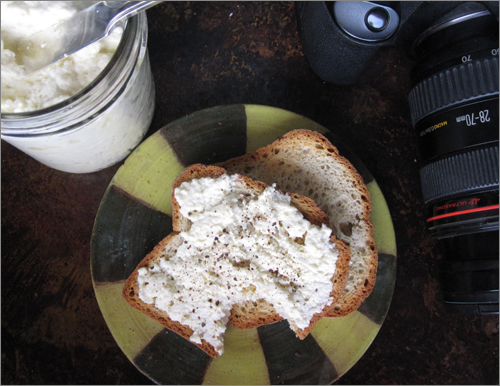
One gallon of milk makes two pint jars of cheese. It stores well in the fridge and the consistency is amazing and hard to describe – it’s dense but spreadable and creamy. I like it with a little pink himalayan salt mixed in, spread on toast with fresh ground pepper on top. Try it – and leave a note in the comments telling us how it went! It’s really easy. And REALLY good.
MY NEW BOOK!

More, Elsewhere


- No Tweets Available