Recipe For Winter Sunbathing
1) Toss a blanket over a fluffy patch of untouched snow.
2) Walk to one edge of the blanket, so that you are facing the sun with the blanket behind you, careful not to touch the blanket.
3) While facing the sun, squat over the blanket, then fall back into it.
(If you do this in one smooth motion, the snow under the blanket will perfectly conform to your body. This is the goal. Practice as necessary.)
4) Close your eyes and let the sun warm your face.
5) Breathe a little more slowly.
6) Realize that, despite everything else everywhere else, this moment is perfect.
Only Soup, Every Soup
Soup is my favorite food group. And lately, it’s the only thing I want to eat, which is fortuitous, as this is the best time of year for soup! I have made many, many vats.
Butternut Soup
My favorite soup; I’ve made it so often I don’t follow a recipe. I just throw stuff in a pot: one onion sauteed in butter, two peeled and cubed butternut squash, an apple or two, depending on their size (one if baseball-sized; two if raquetball-sized), broth to cover, nutmeg, cinnamon, salt, pepper. Simmer, covered, till butternut is very soft, then blend with an immersion blender. Stir in some cream (a cup? I just pour), taste, add more salt and nutmeg if needed. THE BEST.
Potato Soup with Roasted Garlic – Evelinas Ekologiska
I love the addition of white beans in this soup, but found the final product a bit bland, so I roasted a head of garlic and blended it in. A perfect addition, regardless! So rich, so autumnal! The page is Swedish but your browser will translate it for you.
Broccoli Soup – Smitten Kitchen
I prefer it with about 1/3 more broccoli and only 1/3 the of cheese. Mike has a thing against broccoli; when I make this soup, I never have to share.
Jambalaya – Gimme Some Oven
I subbed in local sausage and omitted the chicken. Really hearty without being heavy, soups are so wonderful that way!
Curried Cauliflower Soup – Cookie + Kate
Absolute perfection as is. This soup is SO SO GOOD.
What has made me really happy and excited, beyond all the soup itself, was realizing that 90% of the ingredients I’ve used for of all these soups came from my homestead or from people I know. I believe the coconut milk, shrimp, and spices are the only storebought items.
. . .
Farmily update: I took the pups out around 9 or 10pm as I do every night, and when I opened the door, there was Sid, on the deck, curled up on a rug that I’d accidentally left on the deck. The other calves were sleeping on the ground around him. He’s now big enough to sit on, but not so big he risks breaking the deck with his shenanigans (though that day will come….)
. . .
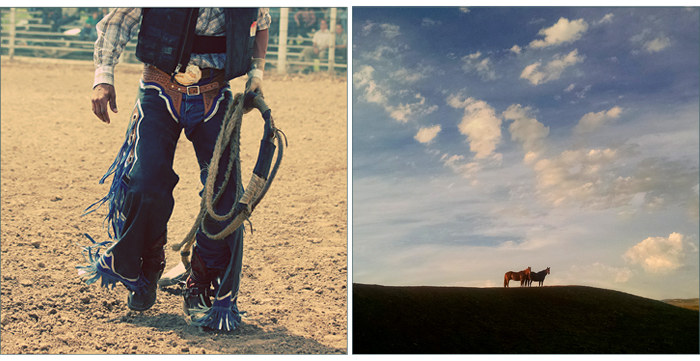
2017 Calendars are in the home stretch – I look at final proofs this week. Here’s a sneak peek of two pages from the surprise second calendar (there will also be Charlie’s Calendar)…. enjoy!
Best Pesto, By Request
* I use walnuts instead of the traditional pine nuts because pine nuts are so much more expensive and have you heard of pine mouth? Pine mouth is a condition one can get after eating pine nuts where everything you eat tastes horribly bitter – no matter what it is you eat – and which can last for two weeks! Walnuts sub in just fine.
* If you are awesome you can use a suribachi bowl and pestle instead of a food processor. Like this. They are large bowls with a rough interior texture. But if you are busy and/or making a lot of pesto (I try to freeze a couple of gallons so I can have it weekly all year long) a food processor really is the way to go.
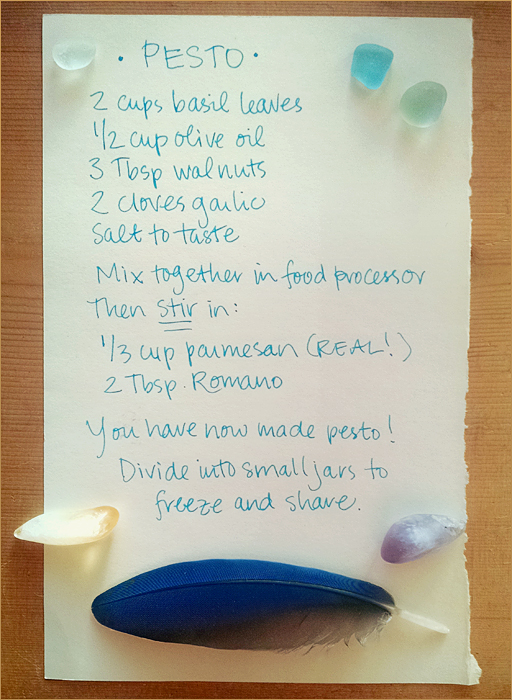
Recipe text:
2 cups basil leaves
1/2 cup olive oil
3 Tbsp walnuts
2 cloves garlic
salt to taste
Mix together in food processor, then *stir* in:
1/3 cup parmesan (real!)
2 Tbsp Romano
You have now made pesto!
Divide into small jars to freeze and share.
Saving The Tomatoes
It snowed Thursday night. We knew cold was coming, though we were not expecting SNOW. In September! During the day, I had harvested all my herbs and peppers and transplanted basil, thyme, and parsley plants into pots which I carried indoors for the winter. And the jalepeño plant. I don’t expect it to continue producing through the winter, but it is such a beautiful plant.
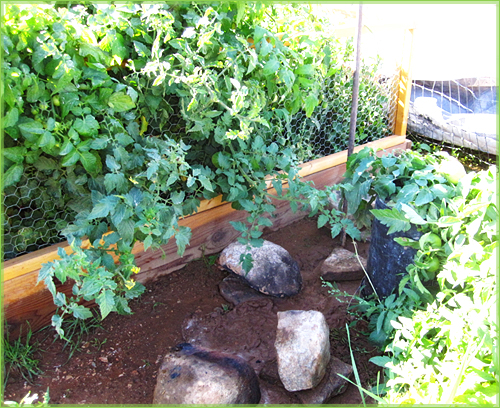
But my tomatoes! I have another tomato jungle this year, two raised beds full of towering plants heavy with gorgeous green tomatoes still on the vine. I could have picked them green, or pulled the whole plants to hang, but I really didn’t want to do either, since these autumn cold snaps are briefly brutal and then the temperatures head back into the 70’s for weeks until Real Winter hits.
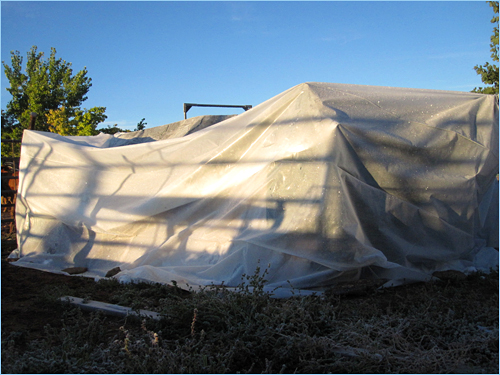
So, Thursday evening, I covered my tomatoes, as the forecast was calling for rain and mid-30-degree lows. Eli meowed at the door at ten or eleven that night, and I opened my door to a snowstorm. I was concerned about my tomatoes, but not worried – it was just barely freezing, the plants were covered, and generally, it’s not coldest while it’s snowing – it’s coldest once it stops snowing.
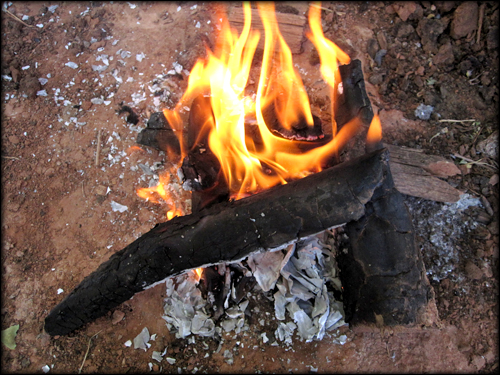
It snowed through much of Friday, but was obviously going to clear off by sundown, which was when the real tomato-killing cold would arrive. Friday afternoon, Mike and I piled up some granite boulders and built a bonfire around them, to heat the rocks.
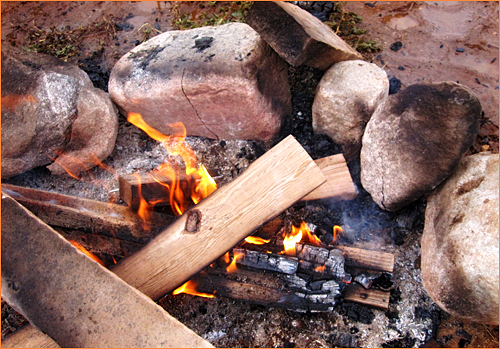
At dusk, just as the snow was tapering off and the cloud cover was dissipating, we moved the hot rocks (wearing heavy leather gloves) under the tarp and into the tomato garden, and placed them between the raised beds. I tucked the tomatoes in for the night and hoped for the best!
The next morning, I walked up to the garden at dawn. The temperature outside was 28°F.
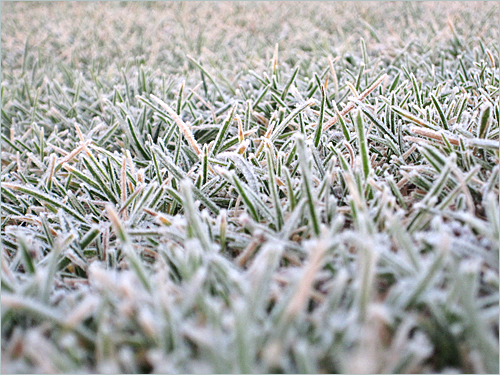
Frost coated the grass, and the tarp itself.

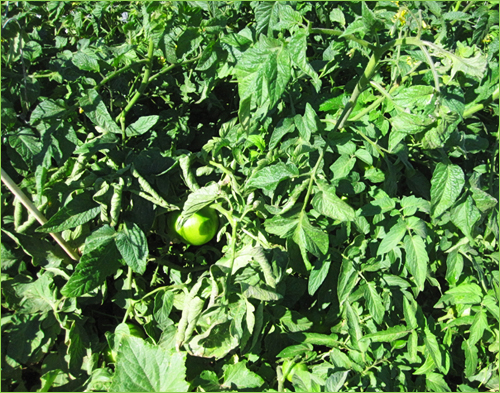
I wanted to measure the temperature inside the tomato tent but didn’t dare disturb it so early, so I just slid my hand inside – and it was noticeably warmer. Around 9:30am, the sun was bright and the air temperature had warmed well above freezing, so we unveiled the tomatoes.
LIFE! Success!! They survived beautifully. It’s back in the 70’s this week, so my zillion remaining green tomatoes will have a good chance at ripening, after all.
Hoofin’ It
I found my wounded Baby the Saturday before last after searching for him for four days, managed to get a horse trailer to him since he could barely walk, and brought him home. (Reason #979 why I’m so glad all my bovines are pets: Baby loads in a trailer as easily as a horse – easier, actually, as I don’t even use a halter on him.) I called my vet AND HE WAS OUT OF TOWN. Argh.
I didn’t want to give Baby any shots without direction but I wanted – needed – to get working on the massive infection that had swelled up his whole leg. So I got online and read about a charcoal poultice that others had used on wounds, for themselves and their animals. It made sense to me, especially in light of what I know about charcoal from the ambulance – we give it orally in certain poisoning cases as it absorbs (adsorbs?) the toxins – and thought perhaps a charcoal poultice could help draw out the infection. It was certainly worth a shot. Turns out this technique is amazing.
First you need charcoal:
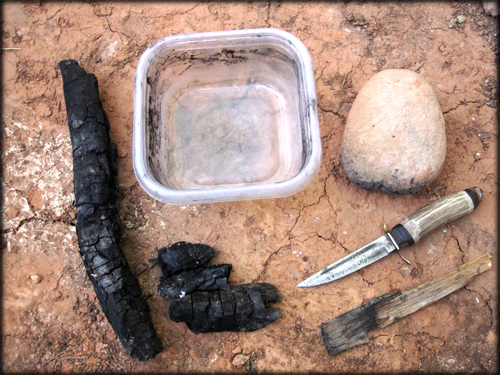
You also need a dish, a knife for chipping and/or scraping the charcoal, a rock for grinding, and a spatula (stick) for stirring and applying:
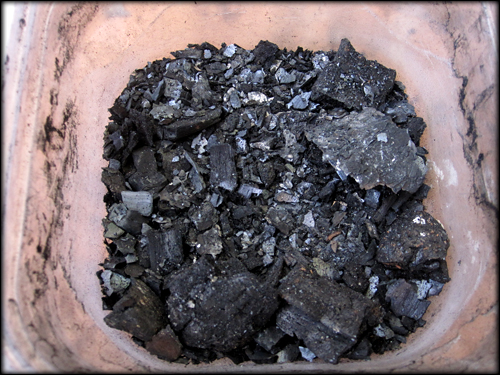
Put chunks of charcoal into dish:
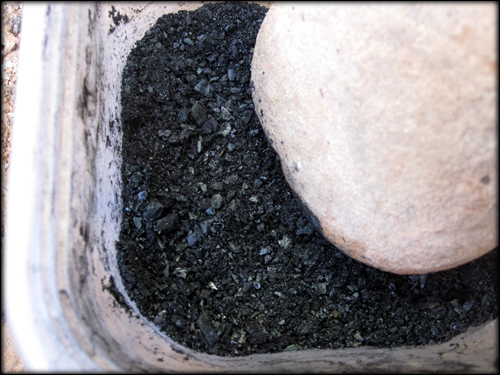
Grind it into powder with the rock (photo taken halfway through the process):
Mix with water:

The paste works better if it’s a bit thinner than you would expect to want it – this stuff is like cement in that it looks runnier than it behaves. It’s also easier to apply and stays on longer if it’s not clumpy:

Apply to wound:
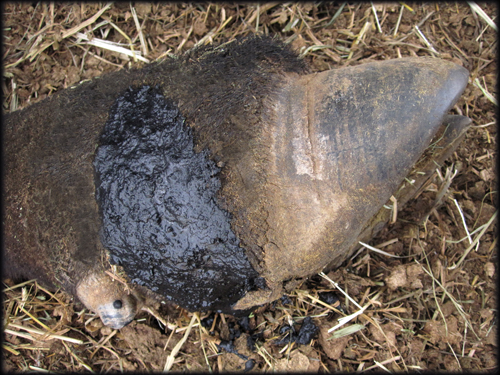
This is Baby’s hoof yesterday. On flickr, I posted a photo of his hoof from ten days ago for those who want to see the progress, which is remarkable. But don’t click if you don’t want to see a horrible wound!
One of the greatest benefits of this technique is that the charcoal layer serves as protection for the wound, keeping dirt out while allowing the wound to breathe and drain. It looks like a thin, neat coat when it’s first applied but over the course of 24 hours it puffs, or plumps, as it sucks out the infection. Then it cracks and falls off in chunks when it’s saturated. These chunks come away with a crisco-frosting-layer of puss coating the backside (there, I’ve just cured you of ever eating a grocery store cake again); gross to write, but great to see when it means your bull is healing. Then I apply a new coating of charcoal and the process continues.
Sometimes, the timing works out perfectly and I can apply the charcoal when he’s lying down. But sometimes he’s standing up when it’s time to put on a new coat, and you can’t tell a bull to lie down like you can with a coyote. It’s essential that he doesn’t move while I’m applying the charcoal so dirt doesn’t get kicked into the wound. Luckily, boys are pretty easy to figure out. I carefully apply the charcoal poultice with my right hand while scratching his balls with my left. He drops his head, his eyes roll back, and he drools a little, and he stands perfectly still. Once the charcoal is on, I have to sit there and continue with this perverse activity so he doesn’t take a step until it dries. You do what you gotta do!
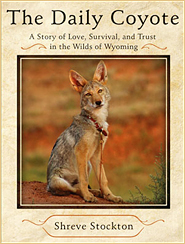
keep looking »MY NEW BOOK!

More, Elsewhere


- No Tweets Available